Introduction
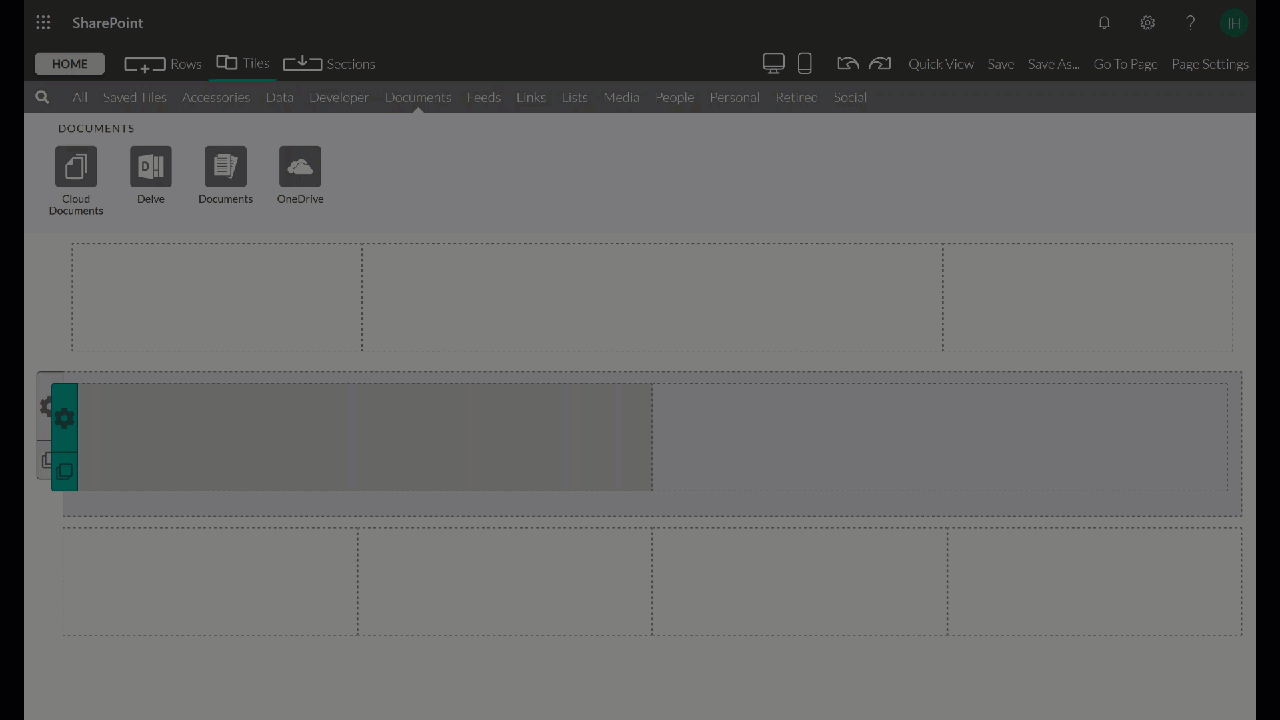
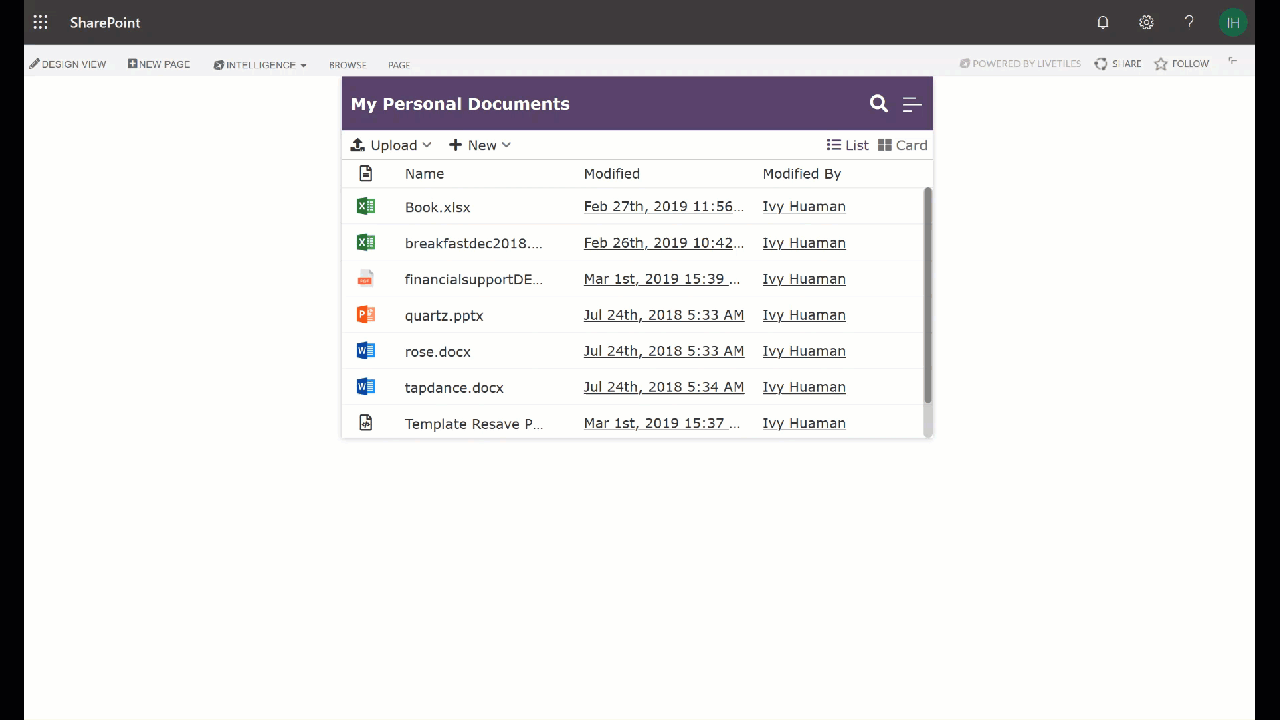
The Document tile is a great way to keep content up to date, easily accessed and edited, and across users and pages in the organization. With the ability to compartmentalize with different Folders and instant upload and one click Delete capability, keeping content relevant for users has never been simpler.
Prerequisites - Create a document library in SharePoint
Step one
Navigate to SharePoint Site Contents > Select + New > Document library.
Give it a title and description > click Save.
Step two
Select, create and save document type(s): + New > select document type.

Step three
Head to your LiveTiles page > go to Design View.
Best Practice: Open Design View in a separate tab for easy editing, viewing and navigation between lists and canvas.
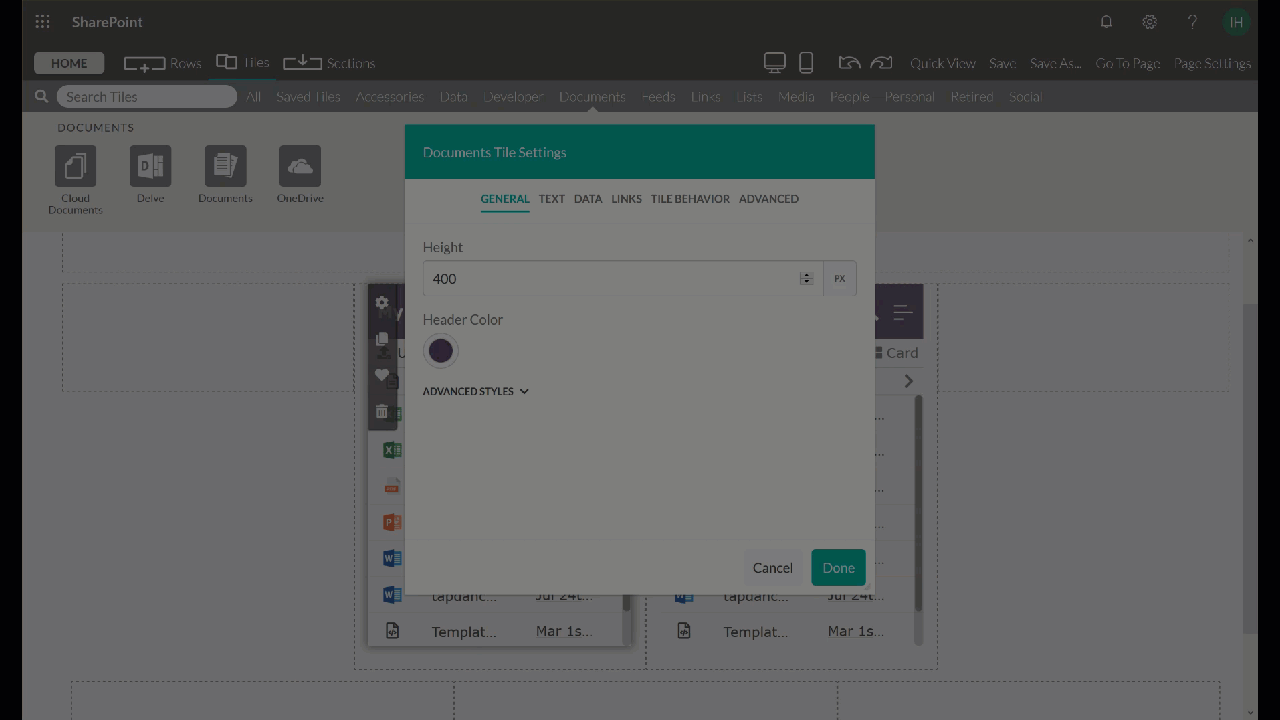
Customize the Tile
General
Set the Header color and Advanced Styling options
Text
Type Header title > customize Header/Body Font Size, Color, Style and Weight.
You have the option to override Page Font in these settings as well.

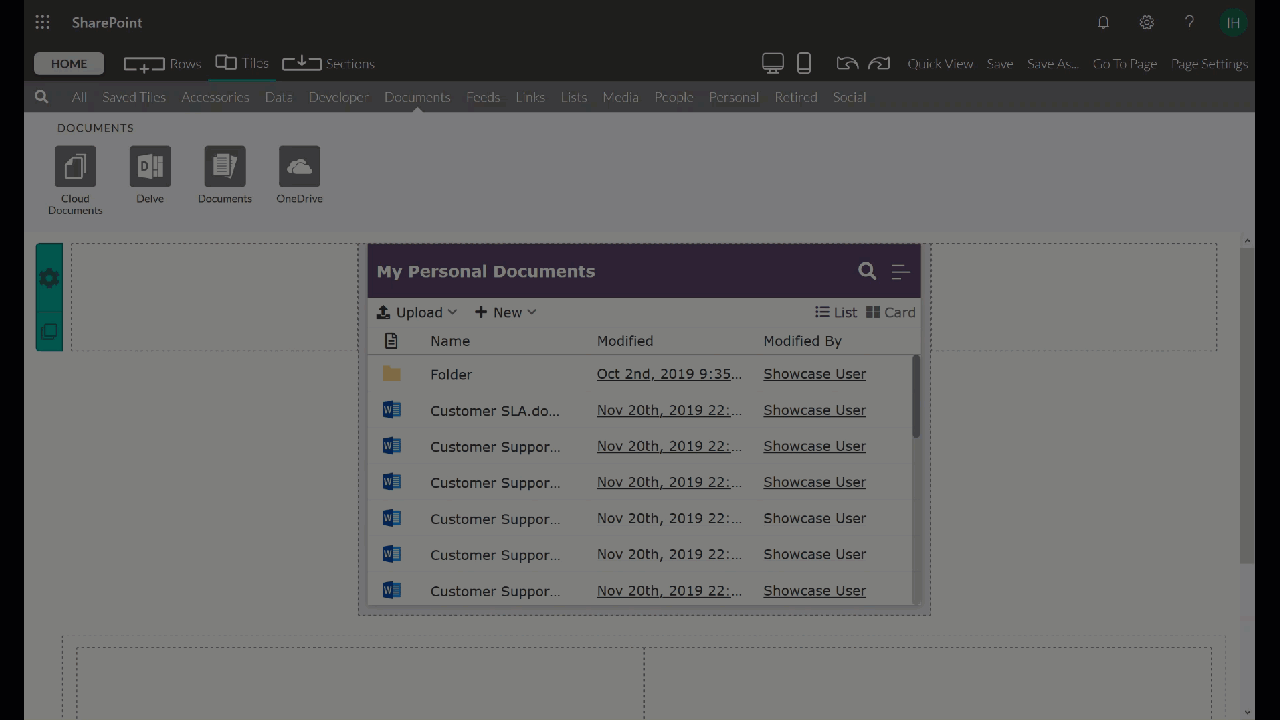
Data
Use the asset picker to select the List that you will link to the tile.
Note, this tile does not require a list, it could be composed of individually uploaded files into folders created within the tile.
This setting tab allows Designers to filter the list for selected views from a set list of filters available in the dropdown menus.
Note, when filtering using a Yes/No column in SharePoint, the filter values will be true for yes or false for no.
In this example, we filtered through items authored by "Ivy".
Links
Set how you want List item to open: In Place, New Window, Modal window, or Slider
With Modal and Slider you have the option to customize the dimensions of the window/slider to allow for best use of your page's available space.
Each open view gives the Designer the option to open: In Browser, In Client App or to Download the list item. This will affect all items in the tile regardless of upload/link style.
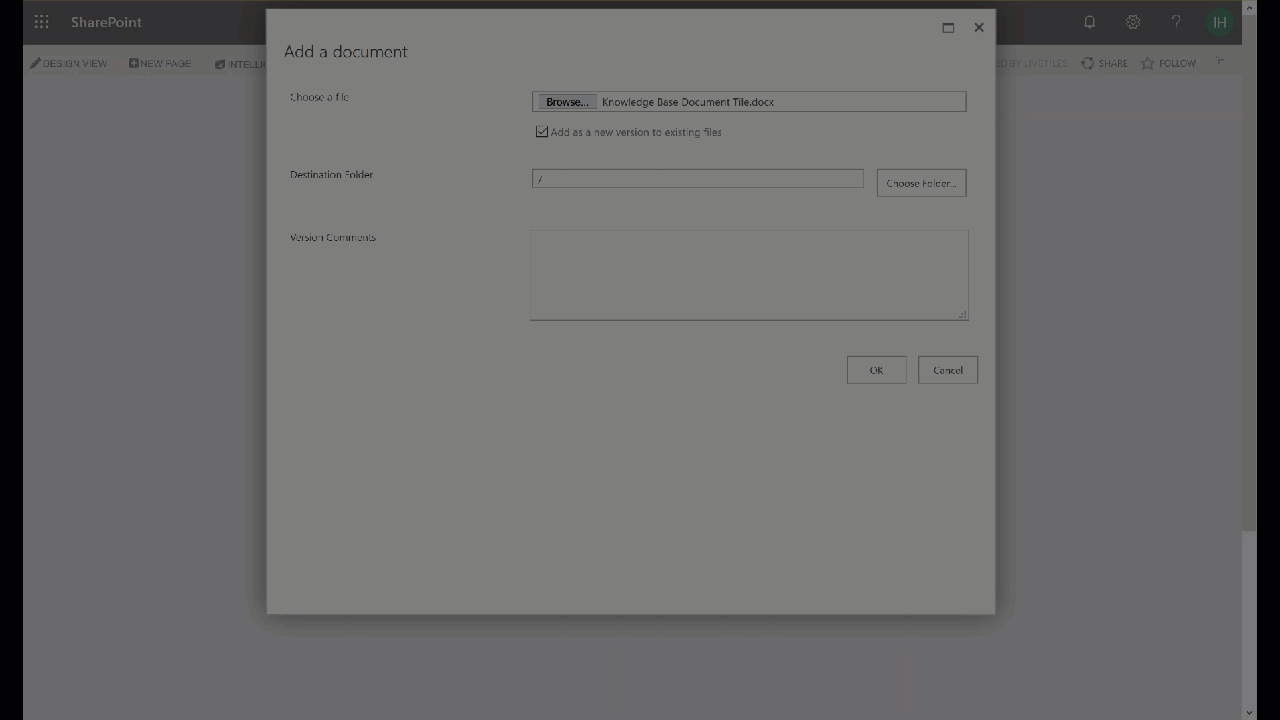
Create a Folder and Upload a List Item
Click New > Title your Folder > Click Upload, modal window with asset picker will appear
Select your item from your file explorer
Remember to use the asset picker to select the created Folder
Click Okay
Comments
0 comments
Please sign in to leave a comment.