Introduction
The module is flexible and can be configured to manage many different types of activities e.g. lectures at a university or college.
The application creates an easy-to-grasp overview of all courses and events, and manages registrations, de-registrations, waiting lists, and the communication between involved parties.
To function properly the module comes with predefined metadata, and each course type with predefined roles. These metadata and roles cannot be deleted, and some cannot be modified. Custom metadata and roles can be added and customized.
This is an Add-on module that can be enabled by LiveTiles.
NOTE: Only available on Enterprise Classic environment.
In this article
- Configuring event catalogs
- Setting up event creation permissions and administrator role
- Managing course types
- Managing event roles
- Setting up metadata for the Learning & Events module
- Configuring email templates for the Learning & Events module
- Configuring templates for the Learning & Events module
Configuring event catalogs
The top-level administration of individual event catalogs created in your solution is managed in Enterprise Administration.
Under ‘Administration‘ in the Learning & Events module, you have access to configure settings for course catalogs created in your solution. Here, you are presented to an overview of all event catalogs created.
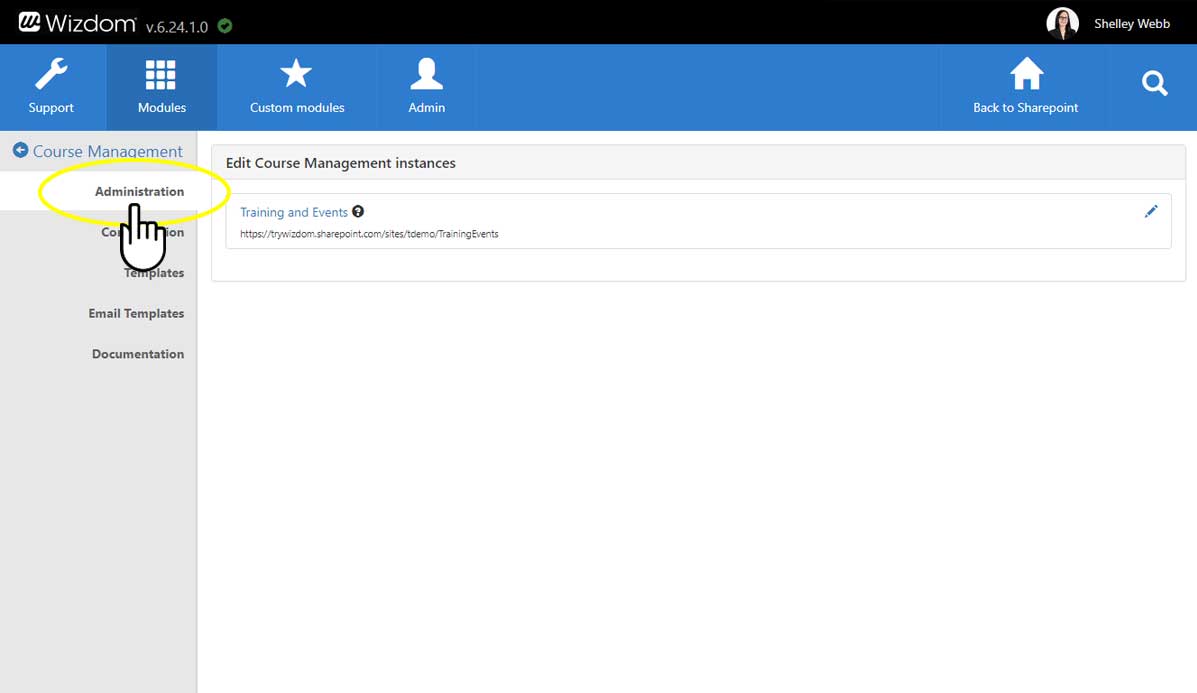
To configure an event catalog:
1) Click on the event catalog that you wish to set up.
2) Now, you are presented to a page with three tabs each offering options for configuration:
The first tab has the name of the course catalog. Here you define who will have permissions to create courses, and who will be who will be assigned the ‘Administrator’ role of the course catalog.
The tab, Course types, lets you manage the course types in the course catalog.
The tab, Metadata, lets you define data that will be used for events in the event catalog.
Setting up event creation permissions and administrator role
To define which users will have the right to create new courses and events in a course catalog:
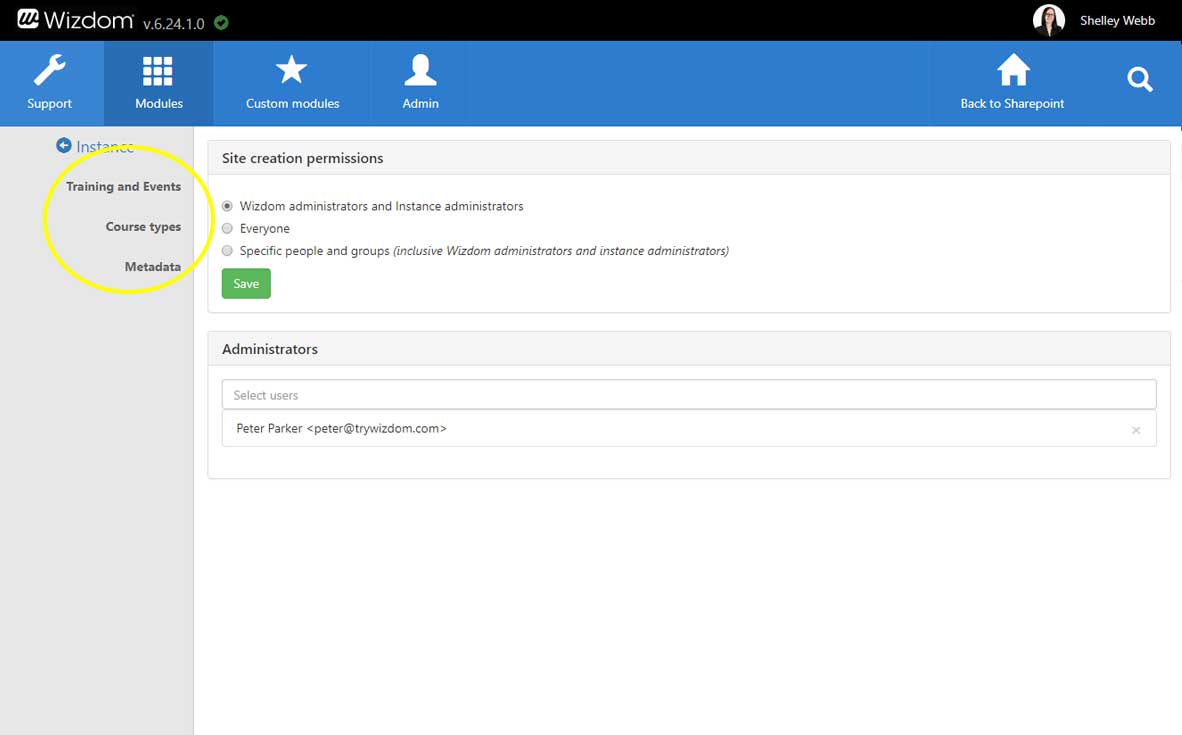
1) Click on the course catalog, you wish to configure, under the ‘Administration’ area in the module administration. Settings for course creation rights (Site Creation Permission) will be located in the top of the first page you land on.
2) Under ‘Site creation permission’, you have three options for permissions:
1) ‘Wizdom administrators and Instance administrators’, which means that only either administrators of Wizdom or the current course catalog can create new courses and events in it.
2) ‘Everyone’, which will make every user of the intranet able to create new courses and events in the course catalog.
3) ‘Specific people and groups (inclusive Wizdom administrators and instance administrators)’. If you select this option, administrators of Wizdom, administrators of the project unit, and selected users and/or groups will be able to create new courses and events for this course catalog. You will be asked to define which users and/or groups should have this permission.
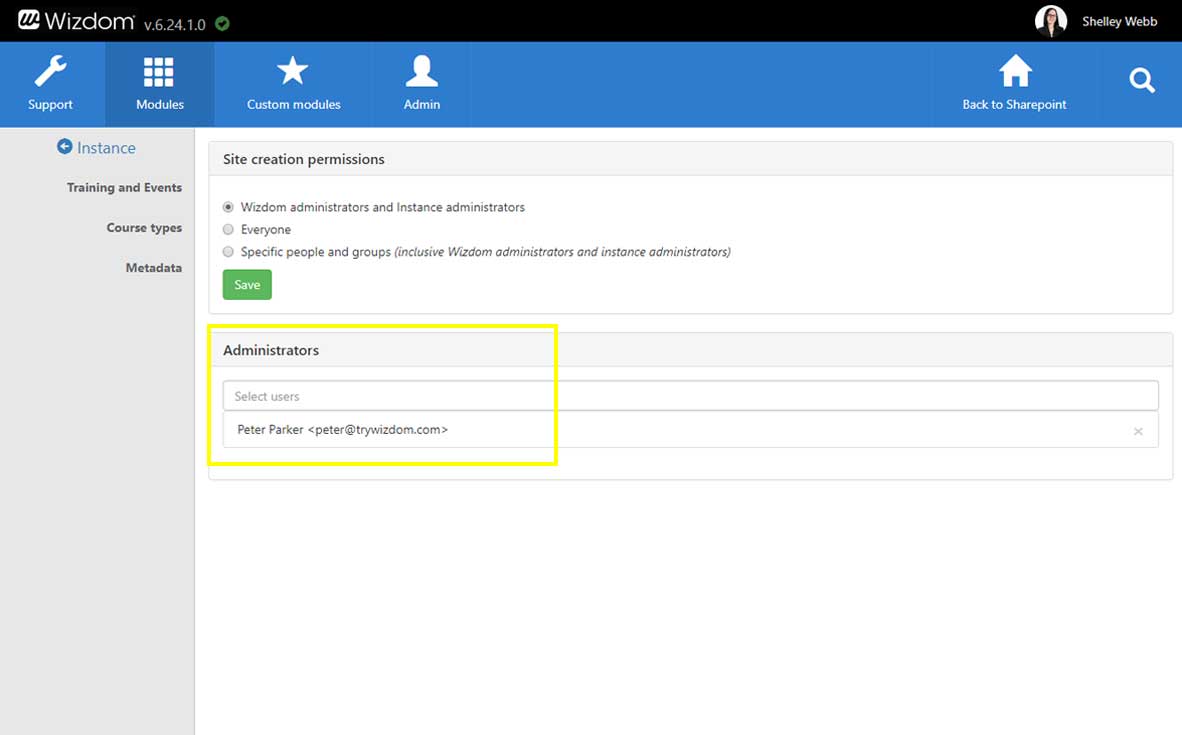
To manage the administrator role:
Under the Administrators section, select the user(s) that you would like to provide administrator rights for the course catalog. Per default, the user who has created the course catalog site will be administrator of the site.
Managing course types
You can use the Learning & Events module to handle activities of very different nature. Therefore, the module allows you to set up different so called ‘Course types’ that will make the Learning & Events module support the different types of activities your company offers. E.g. a company event needs to be supported by different functionality than a training course.
By default, the Learning & Events module comes with three predefined course types: Event, Course, and Online course. These course types can be modified in regard to metadata and roles. Also, you can add new course types.
You can define as many course types as you wish for each course catalog.
To manage the course type(s) for a course catalog, do the following:
1) Click on the course catalog you wish to manage course types for, under the ‘Administration’ area in the Course Management module administration.
2) Then, click on the tab ‘Course types’.
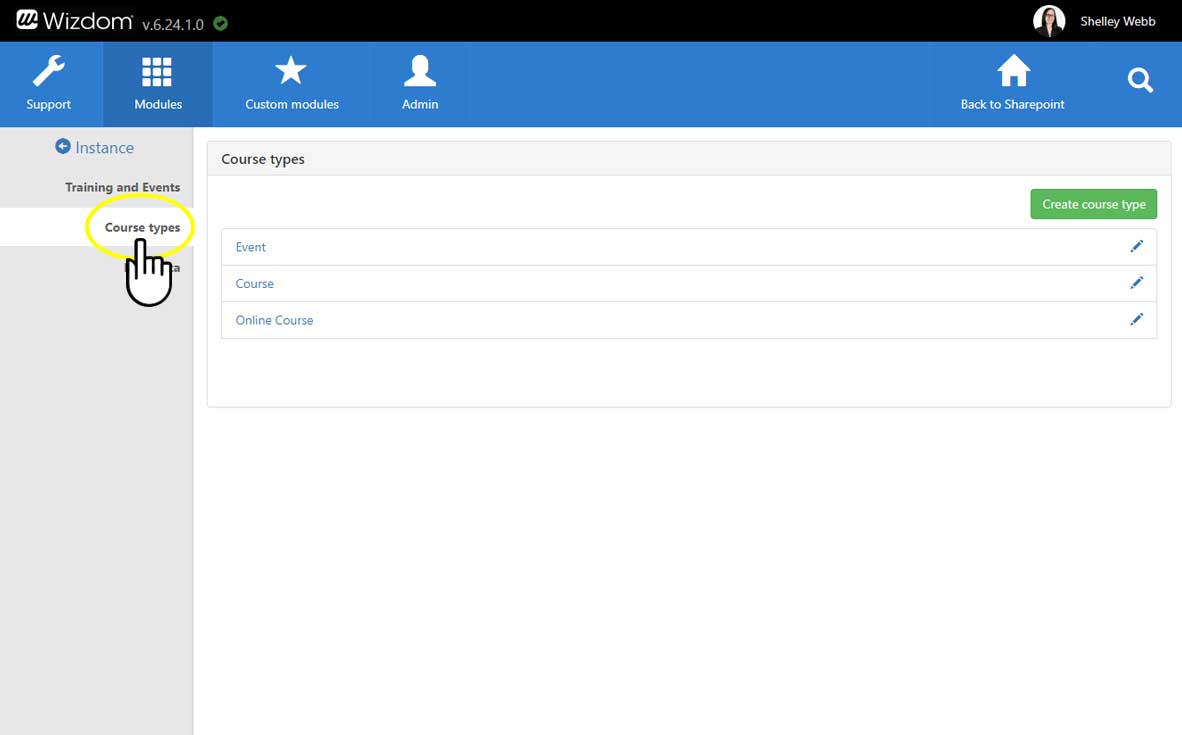
This will get you to the course type administration. From here, you get an overview of all course types available for the course catalog.
To create a new course type or customize an existing, perform the following steps:
1) Under the ‘Course types’ tab, click ‘Create course type’ to create a new course type. To edit an existing, click on the course type you would like to customize.

2) This will take you to the course type administration. Here you manage roles and metadata for the course type and decide a name for new course types.
All course types have a set of own roles and metadata.
For a guide on how to manage roles for course types, see this article.
For a guide on how to manage metadata for a course type, read in in this article on metadata for the Course Management module.
Managing event roles
The roles of a course type defines roles in regards to the course or event as e.g. teacher, organizer, participant, user on waiting list etc.
Depending of the type of event, the roles of a course or event can vary. E.g. courses with tests might need a role for an examiner, while events can involve a role for an event coordinator. Therefore, you are allowed to set up custom roles for a course type.
All roles can be granted a different set of rights in regard to courses or events of a course type. The set of rights are in accordance with SharePoint’s permission level including extra Wizdom specific permissions.
To manage roles for a course type:
1) Under the course type administration, click the course type you would like to manage roles for and press the ‘Roles’ tab. This will navigate you to the role administration of the course type. Here, you can create new roles for the course type and define their respective level of rights.
You can create as many new roles as you like.
NOTE: To function properly, the course module comes with a set of predefined roles. These roles cannot be deleted, and some cannot be modified.
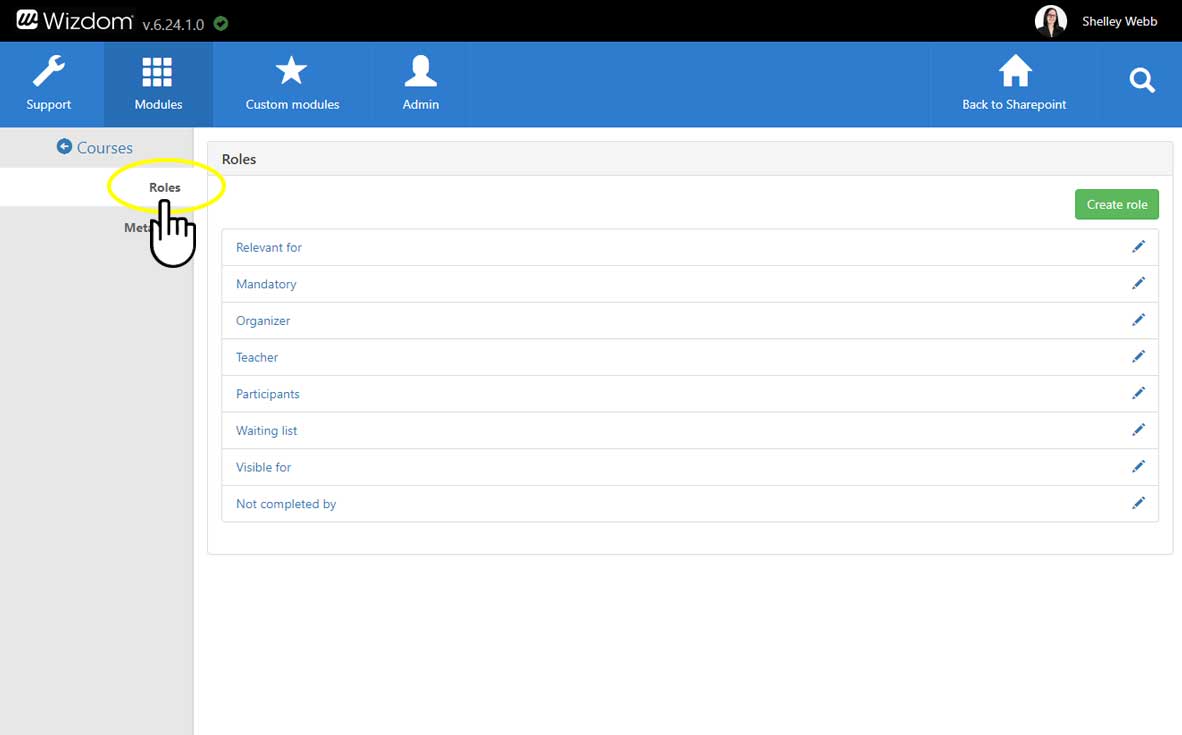
2) Press ‘Create role’ to define a new role, or click on an existing role to edit it. A window will pop up and let you define the role in question.
3) The role administration window is split into multiple sections.
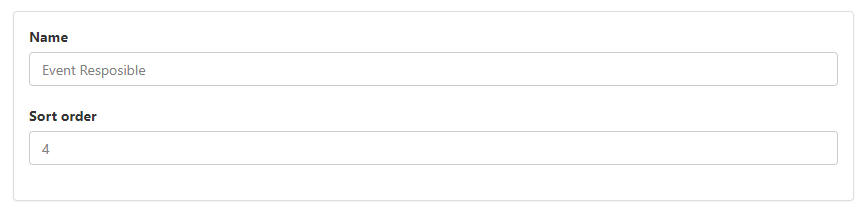
Basic information:
In the first section, you define name of the role and sort order. Sort order decides the order in which, the role will appear. E.g. if a role has sort order set to 0, the role will appear first in all lists.
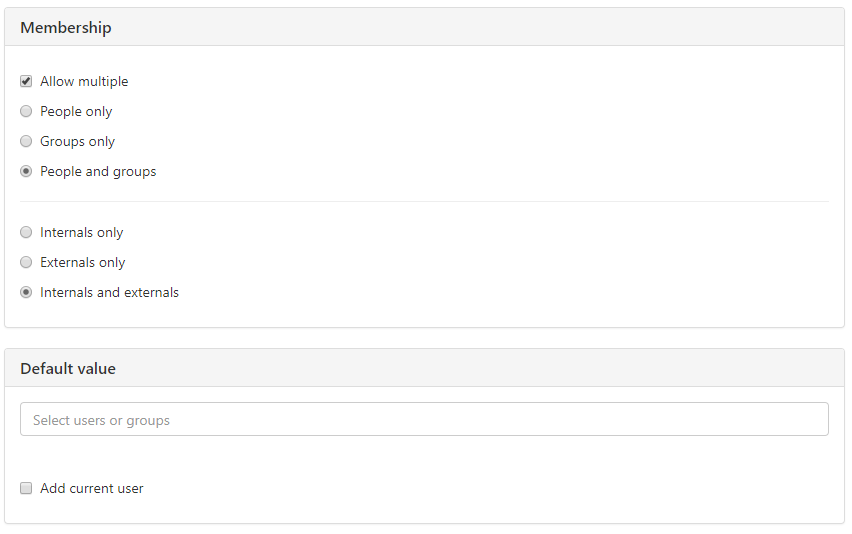
Membership:
This section allows you to select types of users that can be added to the role.
Choose between:
‘People only’ which will only allow individual users to be added to the role.
‘Groups only’ which will only allow groups of users to be added to the role.
‘People and Groups’ which will allow individual users as well groups of users to be added to the role.
Selecting ‘Allow multiple’ will make it possible to allow several users and/or groups to be added to the role. If this field is not selected, only one group or user can be added to the role.
Under ‘Default value’, you define the particular user(s) and/or user group(s) that are added to the role by default.
Ticking ‘Add current user’ will automatically add users, that create courses in this course catalog with this course type, to the role.
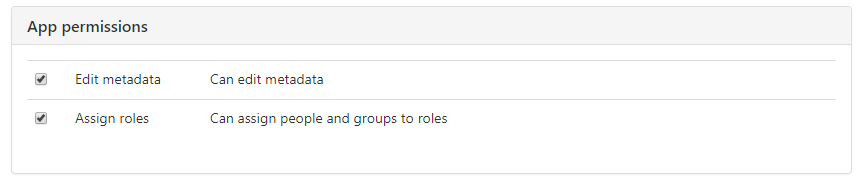
App permissions:
Under ‘app permissions’, you define whether or not members of this role are enabled to edit metadata and assign roles to this course type.
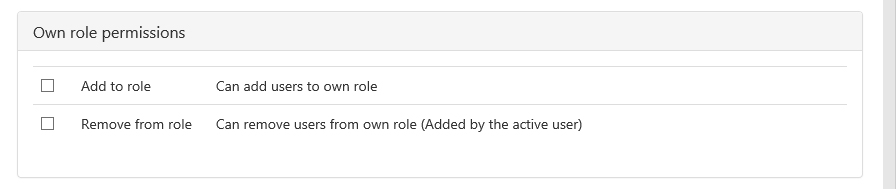
Own role permissions:
Here you define whether users with this role will have rights to add and/or remove other users to/from this role.
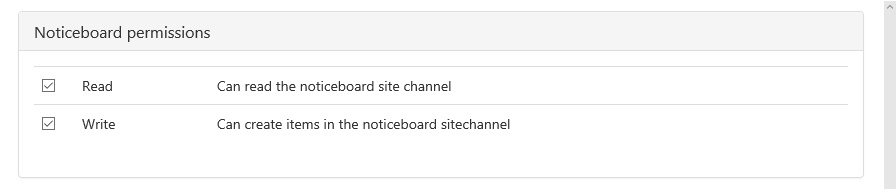
Noticeboard permissions:
Under this section, you define whether or not the role will have permissions to read and/or write news from a Noticeboard channel for the course catalog site.
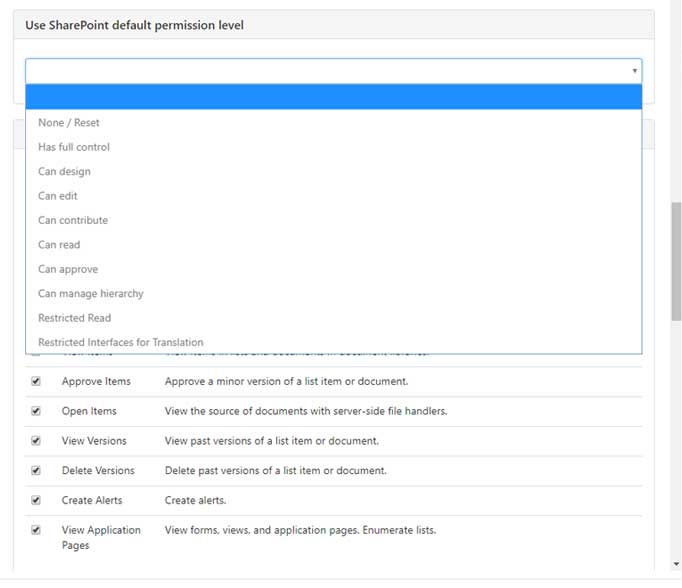
SharePoint permissions:
In this section, you define SharePoint permissions in regard to lists permissions, site permissions, and personal permissions.
In top of the section, you can apply SharePoint’s default permission levels by selecting between leves in a drop-down list. These settings will, then, be applies to the lists, site, and personal permission settings further down the page.
You can make changes to these default permission settings by ticking and/or unticking boxes under the sections for lists, site, and personal permissions.
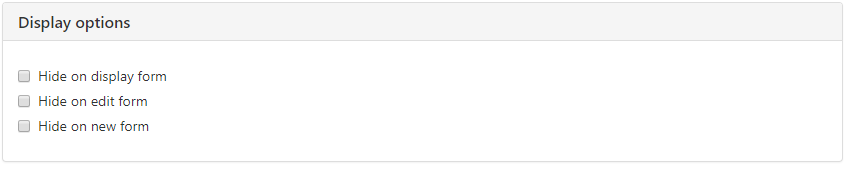
Display options:
Display options allow you to hide the role in three different contexts:
Ticking hide on edit form will hide the field on the form where administrators edit course roles.
Ticking hide on new form will hide the field on the form that course administrators fill in when creating a new course or event.
Finalize by clicking ‘SAVE’ to save your changes, ‘CLOSE’ to close the role without saving your changes, and ‘DELETE’ to delete the role.
NOTE: Predefined roles cannot be deleted.

Setting up metadata for the Learning & Events module
The data recorded and displayed for events and courses are defined by the means of metadata. This is e.g. data like start and end date of a course or event, location, and course level.
Based on metadata defined, course administrators are presented to fields to fill in when creating a course or event. This fields will ensure the appropriate data are recorded when the course or event is established.
The Learning & Events module includes a selection of predefined metadata that are mandatory for the module and its processes. In addition to these, administrators can create new metadata for a course catalog.
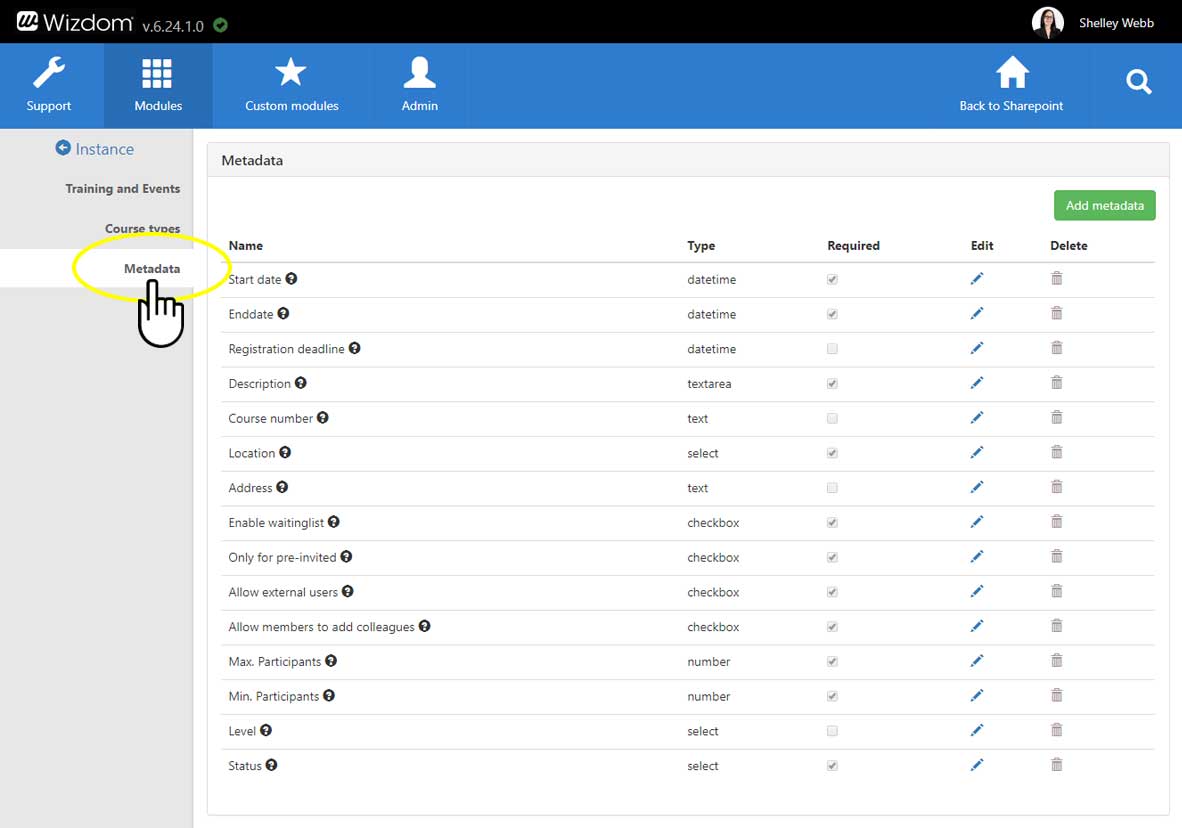
To manage metadata for a course catalog:
1) Click on the event catalog, you wish to configure, under the ‘Administration’ area in the Course Management module administration.
2) Click the tab ‘Metadata’
3) Click ‘Add metadata’ to establish new metadata, click ‘Edit’ to the right of an existing category to edit it, or ‘Delete’ to delete it.
NOTE: The predefined metadata are mandatory and can’t be deleted. However, most metadata can be modified in regard to some values.
You can manage metadata specific for a course type.
This allow you to create metadata needed for events or courses of certain types.
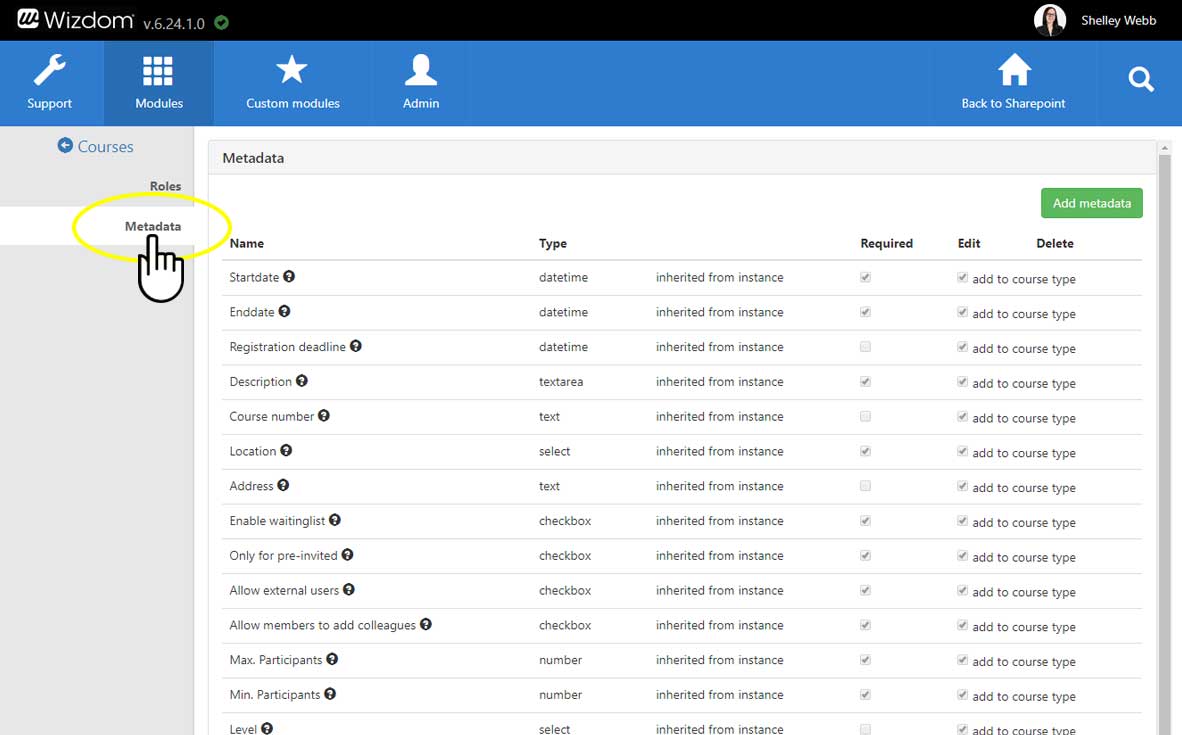
To manage metadata for a course type:
1) Under the course type administration, click the course type, you will manage metadata for, and press the ‘Metadata’ tab. This will navigate you to the metadata administration of the course type.
2) Click ‘Add metadata’ to create new metadata, and the pencil icon in the ‘Edit’ column to modify existing metadata.
The set of predefined metadata cannot be deleted and most cannot be modified on course type level. However, you can add and modify custom metadata.
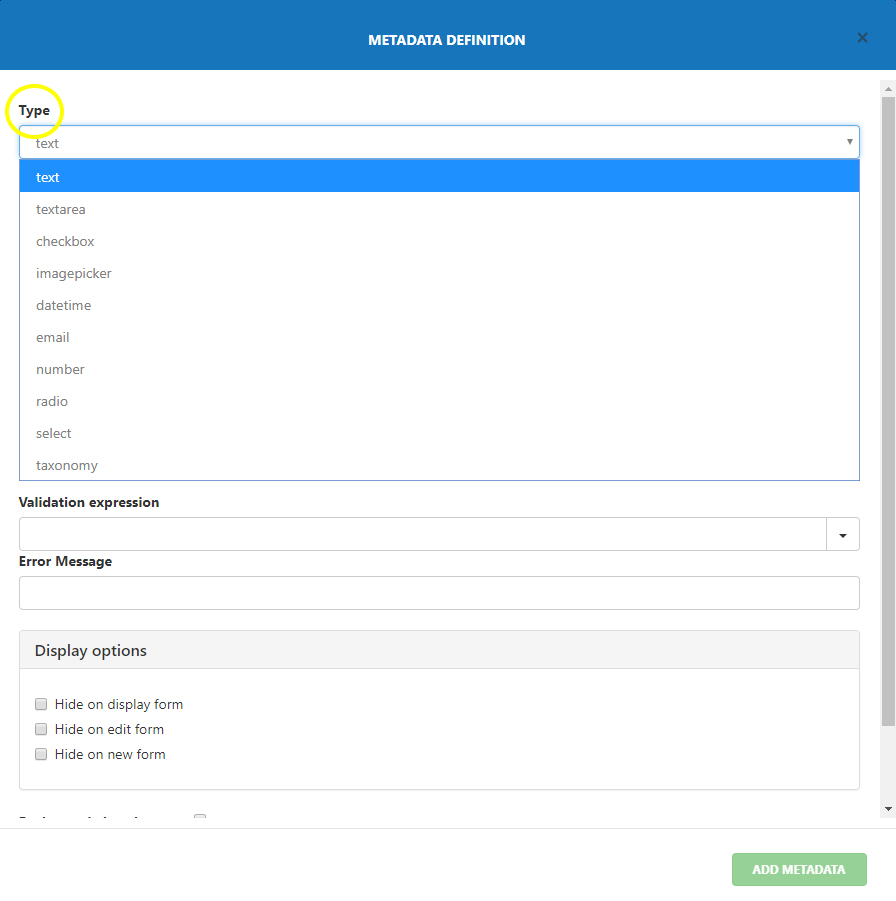
When creating or editing metadata, you are presented to a metadata definition window with a set of fields that let you define how the course administrator will fill in the data when establishing a course or event. For most of the predefined metadata, some, but not all fields, are editable.
NOTE: Not all fields are present in all metadata definition windows as the fields, you will need to fill out for the metadata, depends on the type of the field.
“Type" lets you decide the type of field that will be offered course administrators when they fill in the data about the course or event. You can choose between options as text, text area, checkbox, email, number, etc.
In the field ‘Label’, you define the text the course administrator will see in the top of the field where he or she will fill in data about the course or event.
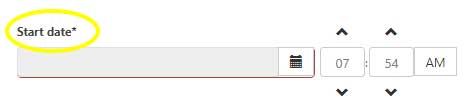
Example of the label of a field as the course administrator sees this.
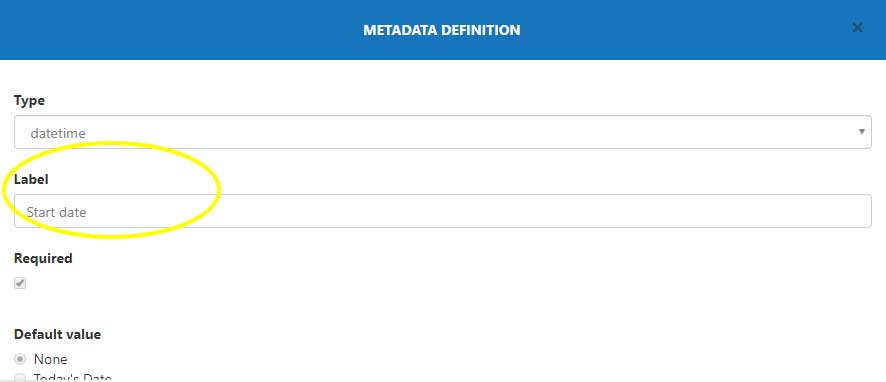
Settings for “label” in the metadata definition window.
‘Placeholder text’ lets you compose a guiding text that the course administrator will see inside of the field where he or she will fill in data about the ticket.
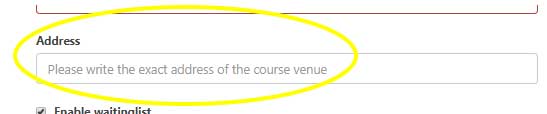
Example of the placeholder text as the course administrator sees this.
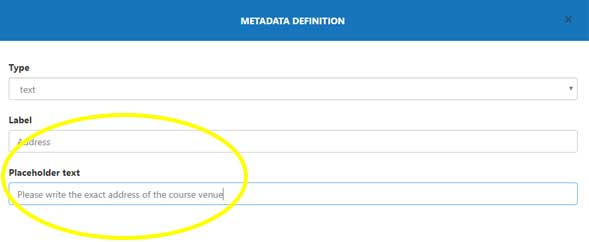
Settings for ‘Placeholder text’ in the metadata definition window.
If ‘Required’ is ticked, the course administrator is required to fill in the metadata field.
The text you fill in or value you apply to ‘Default value’ will be the default text or value of the field where the course administrator will fill in data. When filling in the data, the course administrator can choose to change the text or value of this field or to let the field be filled out with the default data.

Example of the default value label of a field as the course administrator sees this.
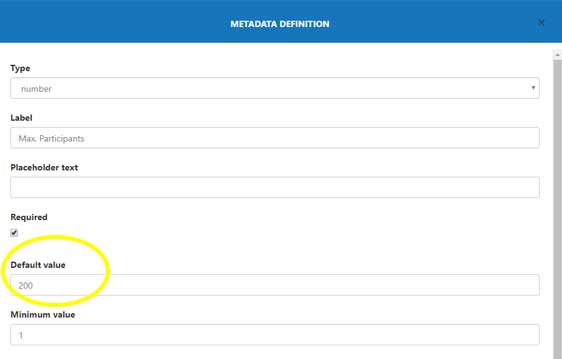
Settings for default value in the metadata definition window.
”Validation expression” lets you define which sort of data the field will accept the user or supporter to fill in. E.g. you can choose between email, phone, URL, etc.
Ticking ‘HTML’ for a metadata field of a ‘textarea type’, will enable course administrators to us use HTML in the text area and e.g. add pictures and links. If HTML is unticked, the text area will be for plain text only.
Ticking ‘Hide image preview in new and edit form’ for a metadata field of an ‘imagepicker’ type, will hide the image you have inserted as the default value.
Ticking ‘Date Only’ for a metadata field of a ‘datetime’ type means that the field will only ask course administrators to fill in date, not time.
‘Minimum value’ and ‘Maximum value’ for a metadata field of a ‘number’ type lets you define the minimum and maximum values course administrators can write in the number field.
‘Possible values’ for a metadata field of a ‘radio’ and ‘select’ type lets you define the options the course administrator will choose between in a radio button or drop-down list field.
‘Term Set’ for a metadata field of a ‘taxanomy’ type lets you select a term set that course administrators can use to tag courses.
In the ‘Error message field’, you compose the message users will receive when the field is not filled in correctly.
Display options allow you to hide the metadata in three different contexts:
- Ticking hide on edit form will hide the field on the form where administrators edit course details.
- Ticking hide on new form will hide the field on the form that course administrators fill in when creating a new course or event.
Ticking Push to existing site types will enable new metadata fields in course catalog sites created before the metadata field.
Configuring email templates for the Learning & Events Module
As part of the flow, users receive emails or calendar invites in relation to happenings that occur in connection to courses and events – e.g. teachers receive messages from participants and users receive a confirmation email when signing up for an event.
The Learning & Events module comes with a set of 11 predefined email templates that each matches an action:
1) ‘AddedToWaitingList’ which is the email sent to a user when the user is added to the waiting list of a course or event.
2) ‘Cancelled’ which is the email sent to a participants of a course or event that has been cancelled.
3) ‘Deregister’ which is the email confirmation sent to a user when he or she has deregistered for a course or event.
4) ‘MessageToTeacher’ which is the email sent to a teacher when a participant has send him or her a message.
5) ‘MetadataChanged’ which is the email sent to participants of a course or event when details of the course or event has been changed.
6) ‘NoLongerOnWaitingList’ which is the email sent to users who has been moved from the waiting list of a course or event to the participants list.
7) ‘RegisterColleague’ which is the email sent to users that has been signed up for a course or event by a colleague.
8) ‘Share’ which is the email sent to users when colleagues has shared a course or event with them.
9) ‘Signup’ which is the email sent to users when they have successfully registered for an event or course.
10) ‘CalendarCancel’ which is the meeting cancellation sent to users who has or has been deregistered for an event or course.
11) ‘CalendarInvite’ which is the meeting invite sent to users who has or has been signed up for an event or course.
The templates for these emails and meeting invites can all be found and configured in the Course Management module administration:
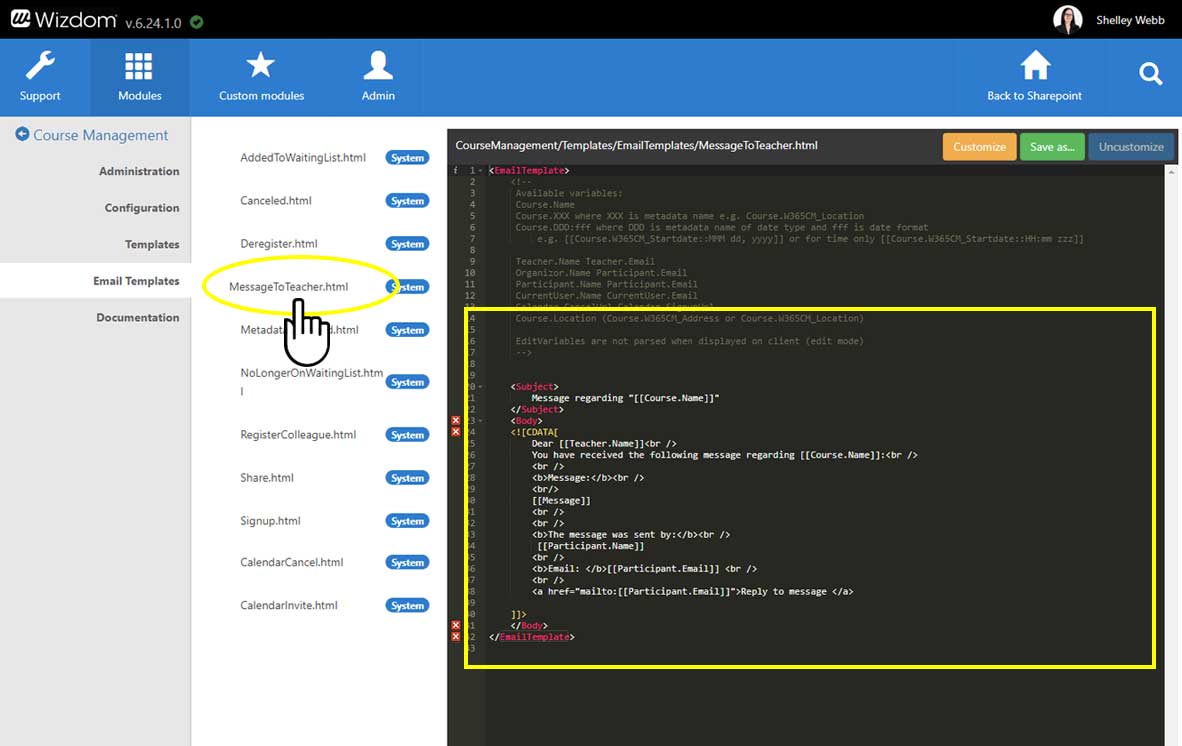
1) Go to the “Email Templates” area.
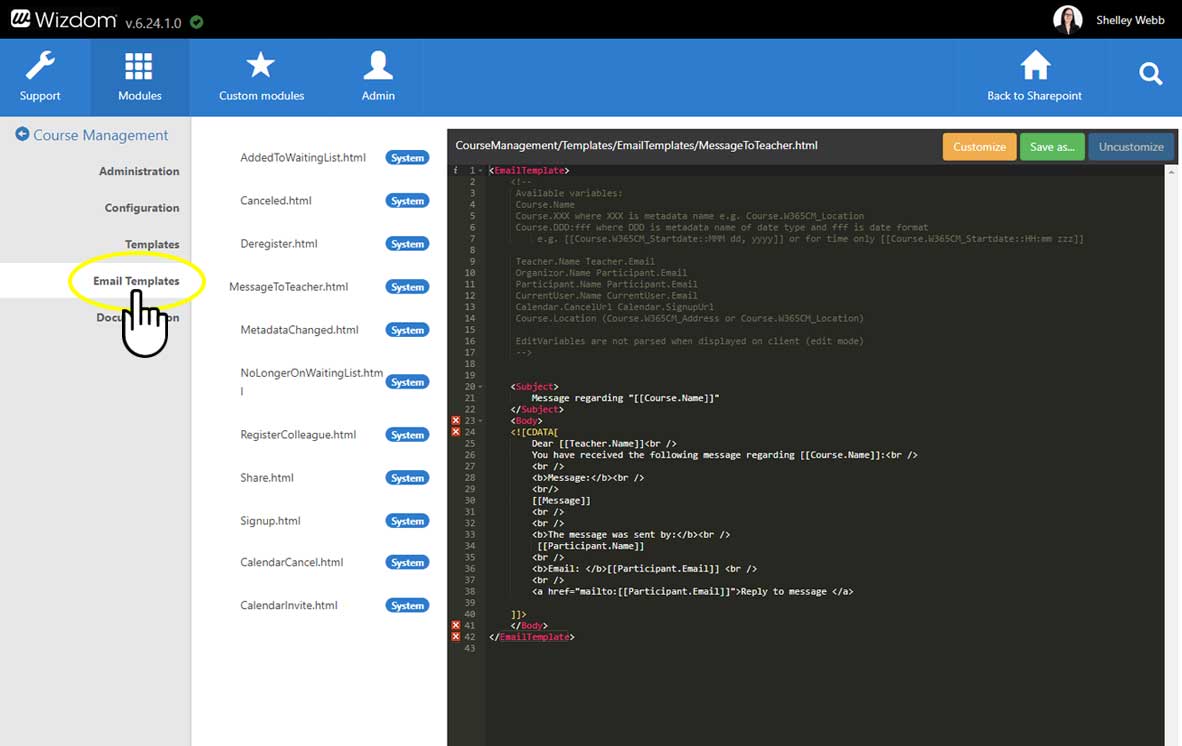
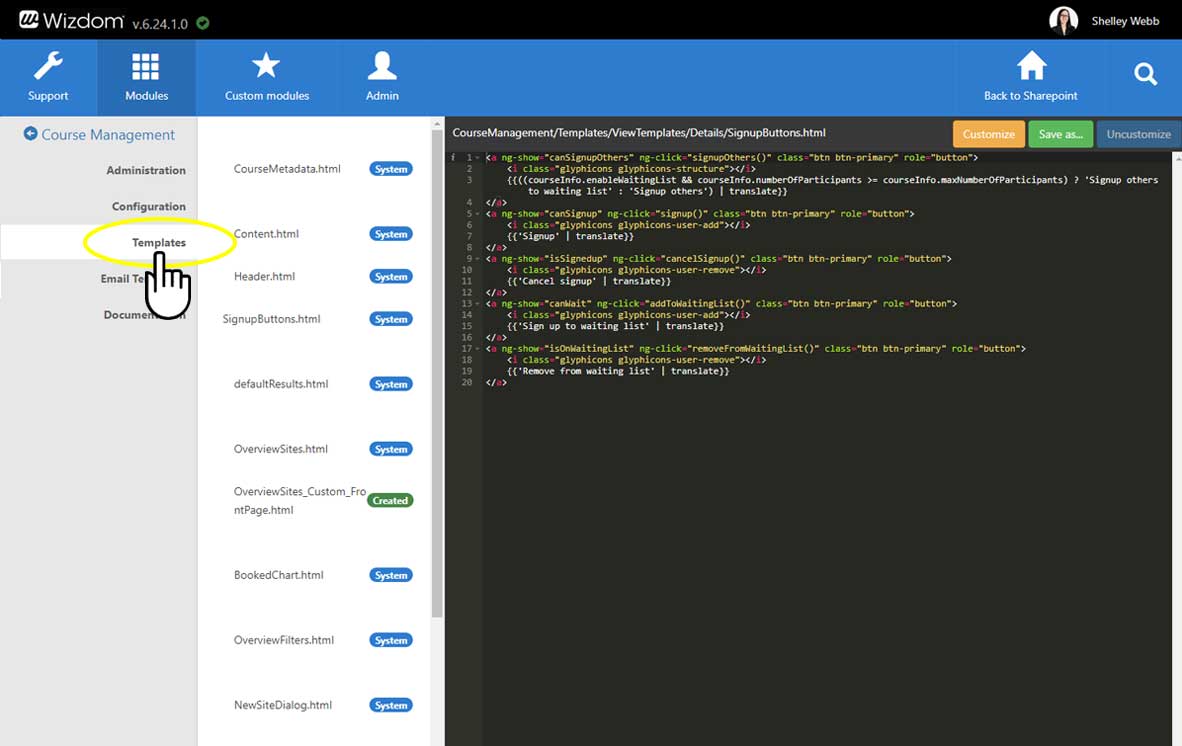
2) By clicking on a template, you are presented to the HTML behind the email or calendar meeting template. While editors and admins will be able to edit the text of the email from this interface, developers can change the more advanced HTML behind the templates.
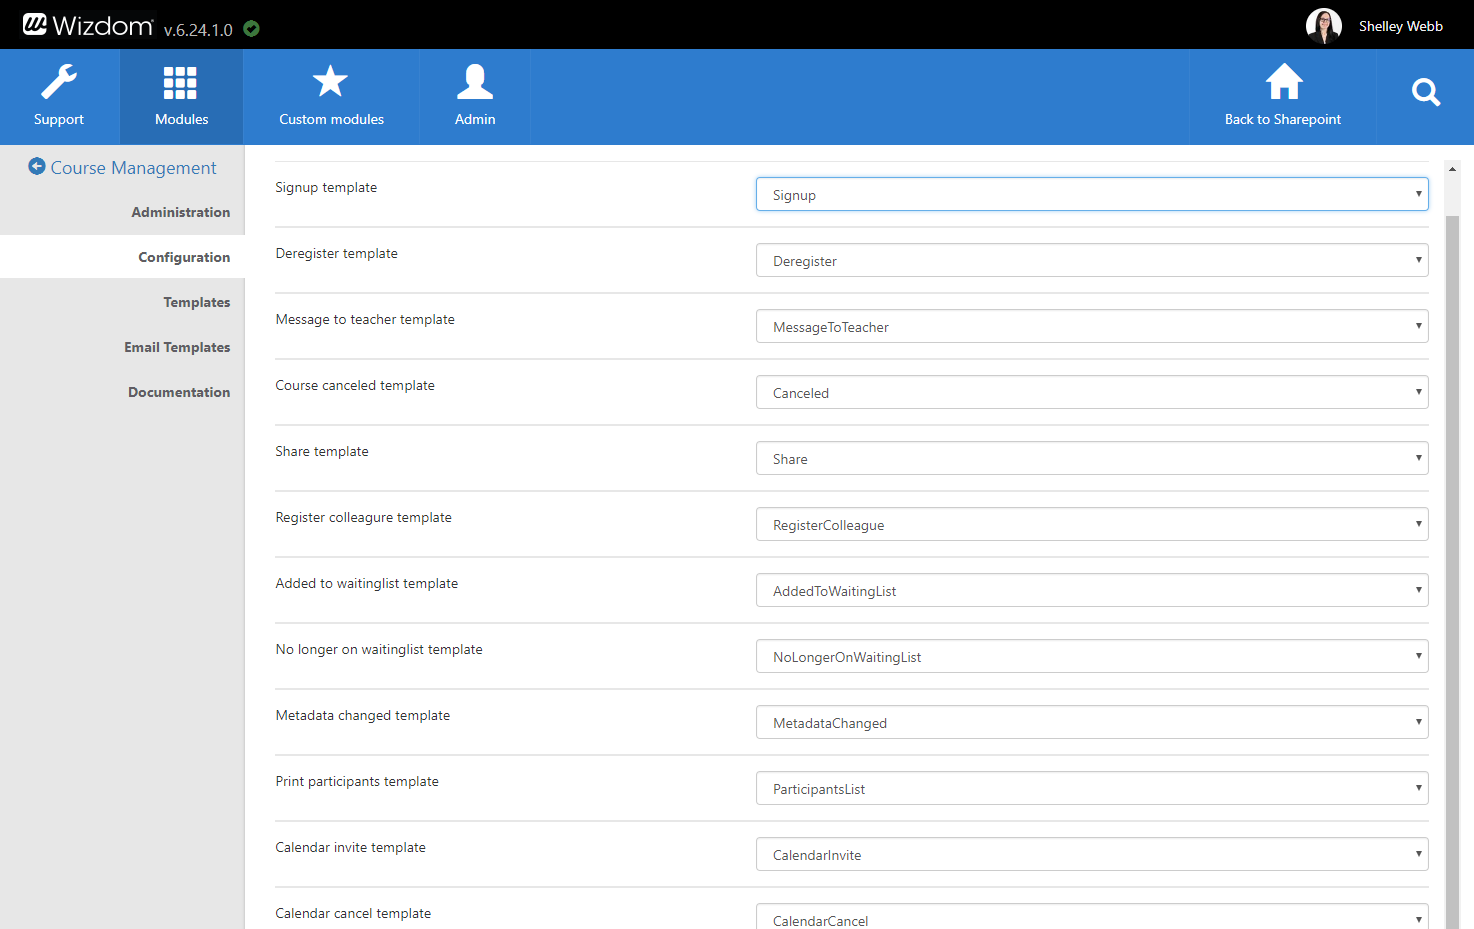
Under the ‘Configuration’ area, you specify which templates should be used for which actions.
This is done by selecting the template you desire for each action. Per default each action will be paired with an appropriate template.
Configuring templates for the Learning & Events module
In Wizdom Configuration Center, you can define and customize the look, feel, and functionality of the Learning & Events module by the means of templates.
The Learning & Events module includes a selection of predefined templates.
You find an overview of templates for the Learning & Events module under the ‘Templates’ area in the Learning & Events module administration.
From here, you can edit existing templates and create new.
Overview of templates for the module
Event Overview
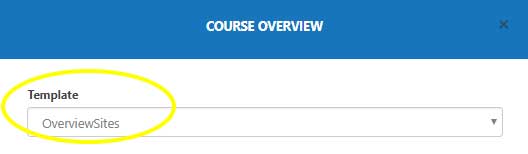
The template named ‘OverviewSites’ controls the overview of courses and events the ‘Event Overview’ web part provides.

Overview Filters
The template named ‘OverviewFilters’ controls the ‘Event overview’ web part filters.

Course Creation Dialog
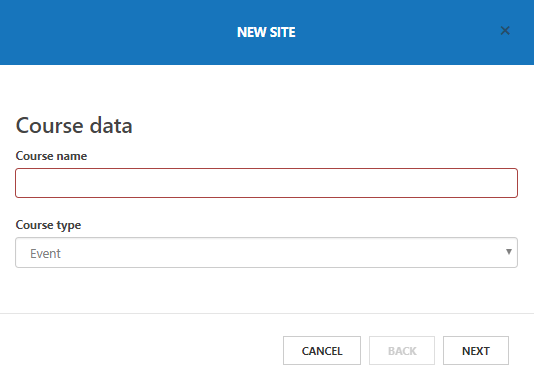
The template named ‘NewSiteDialog’ controls the dialog, course administrators are taken through, when establishing a new course or event.

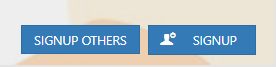
The template named ‘SignupButtons’ controls the buttons users use to register, deregister, and sign up colleagues for courses or events, and sign up for and remove from waiting lists.
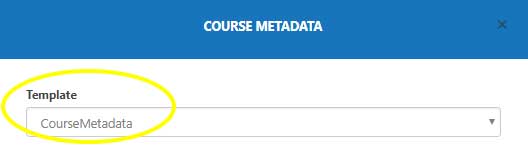
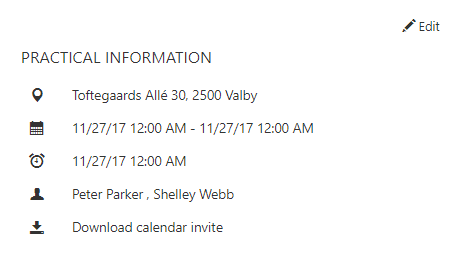
Course or Event Details
The template named ‘CourseMetadata’ is the template that controls the ‘Event Details’ web part. This web part displays basic information about a course or event with illustrative icons.

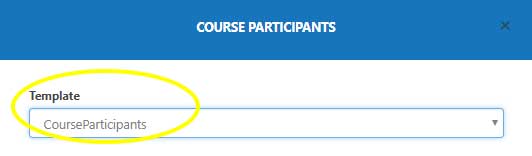
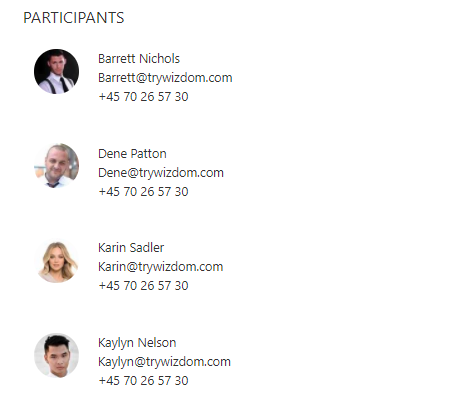
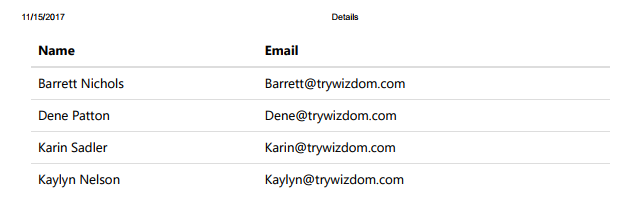
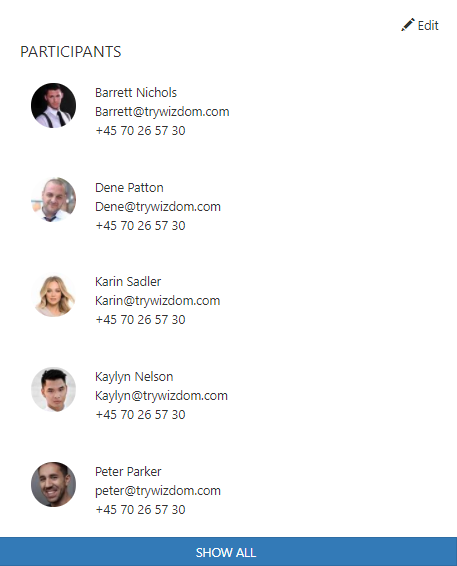
Overview of Participants
The template named ‘CourseParticipants’ is a template for the ‘Event Participants’ web part. This template displays users registered for the event or course.
The template named ‘ParticipantsList’ controls the print function of the participants lists.
Webpart settings
- Configuring the Event Overview web part
- Configuring the Event Participants web part
- Configuring the Event Details web part
Configuring the Event Overview web part
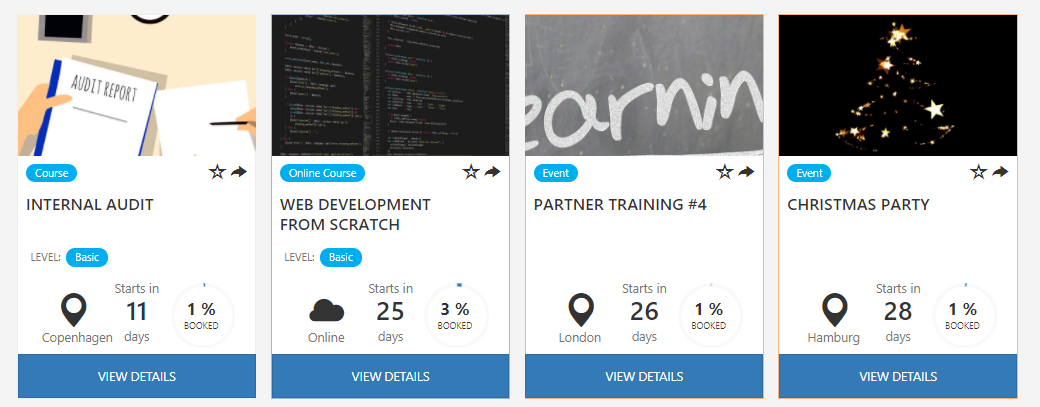
The Event Overview web part provides users and course administrators a tool that offers overview of and access to all relevant details and tools to support the event planning life cycle.
From this overview, users get an filterable overview of courses and events offered. Course administrators are offered an easy access to event management tools.
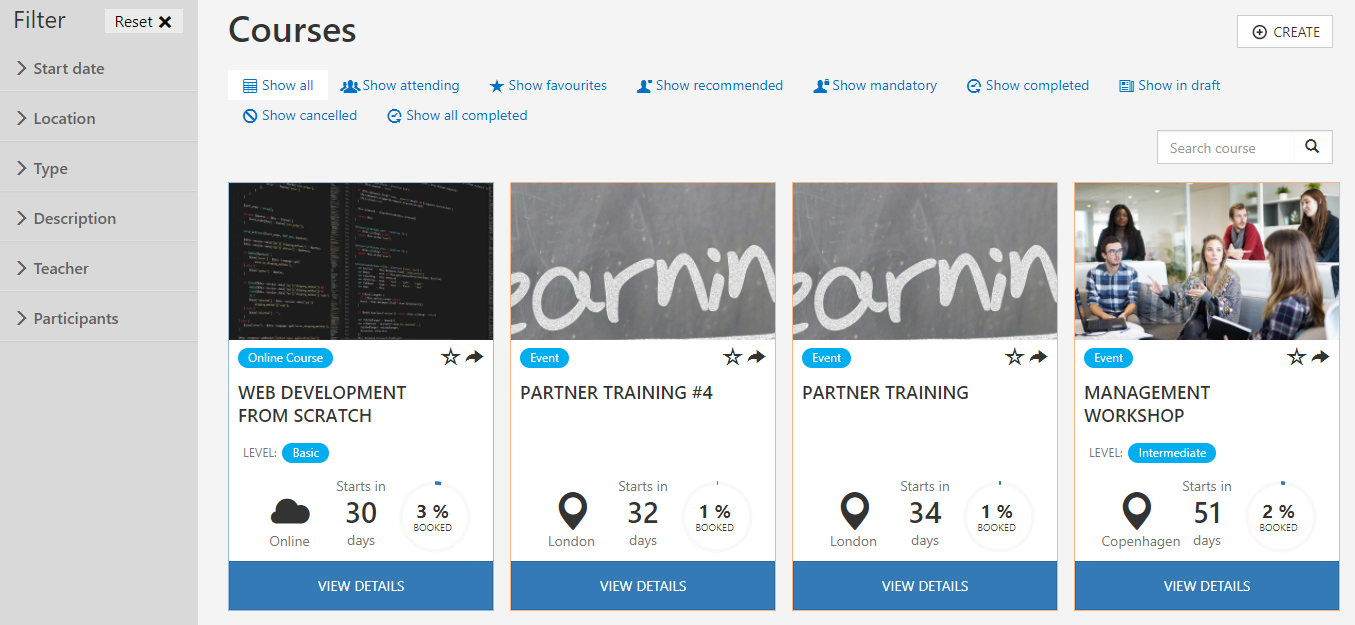
Per default, the Event Overview web part is added to the landing page of the Event Catalog site.
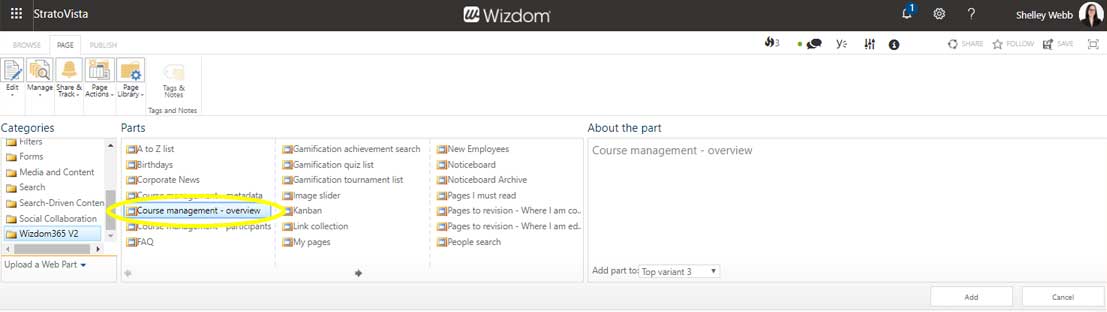
However, if you need to add the Event Overview web part to a page, perform the following steps:
1) Edit the web page and click ‘Add a web part’ to open SharePoint’s web part gallery.
2) The Event Overview web part is found in the ‘Wizdom’ folder.
To configure the event overview web part:
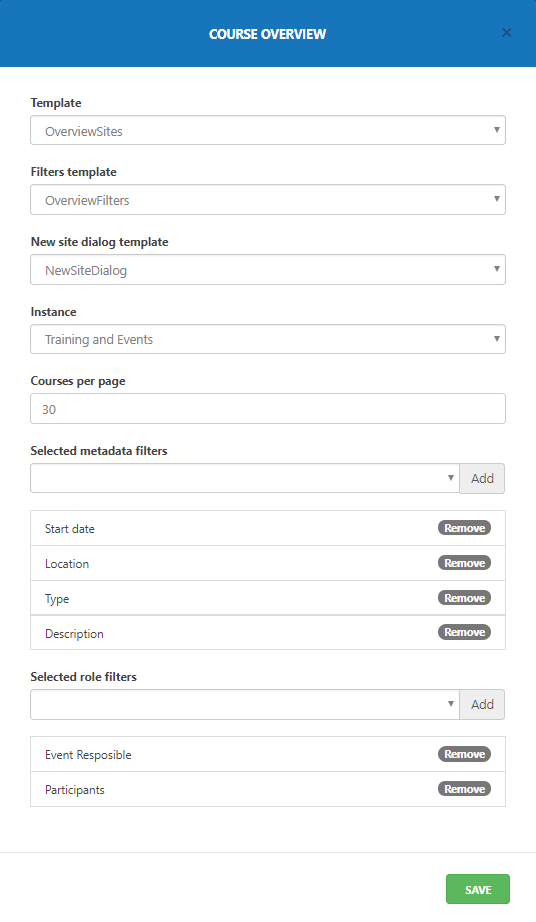
1) Press the ‘Settings’ button in the web part. A window pops up and takes you through the settings.
Template: Select template for the overview of courses and events.
Filter template: Select template for the web part’s filtering functions.
New site dialog template: Select template for the dialog, course administrators are taken through, when establishing a new course or event.
Instance: Select the Course Catalog you want the course overview to display courses and events from.
Courses per page: Specify how many courses and events you want the overview webv part to show per page.
Selected metadata filters: Select the metadata filters you would like users to be able to use to narrow down courses and events in the overview.
Selected role filters: Select the roles you would like users to be able to use to narrow down courses and events in the overview.
Configuring the Event Participants web part
The ‘Event Participants’ web part provides an overview of all users registered for a course or event.
From this overview, course administrators are provided with tools to manage course and event participants.
Per default, the Event Participants web part is added to landing pages of Courses and Events.
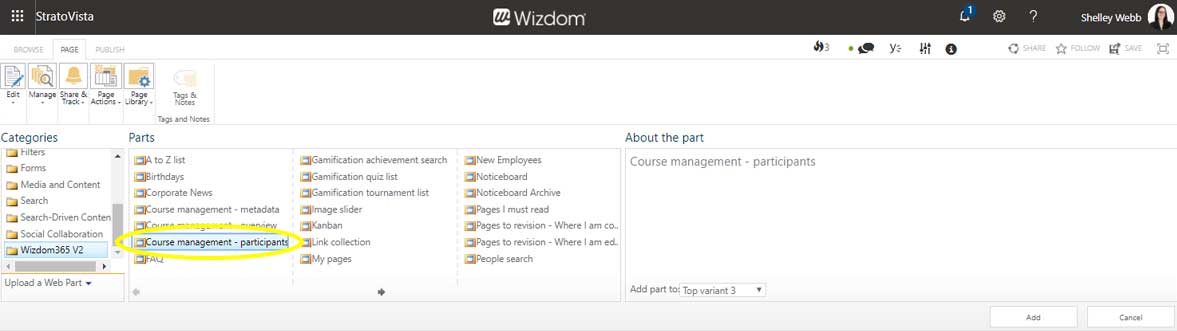
However, if you need to add the Event Participants web part to a page, perform the following steps:
1) Edit the web page and click ‘Add a web part’ to open SharePoint’s web part gallery.
2) The Event Participants web part is found in the ‘Wizdom’ folder.
To configure the Event Participants web part, perform the following steps:
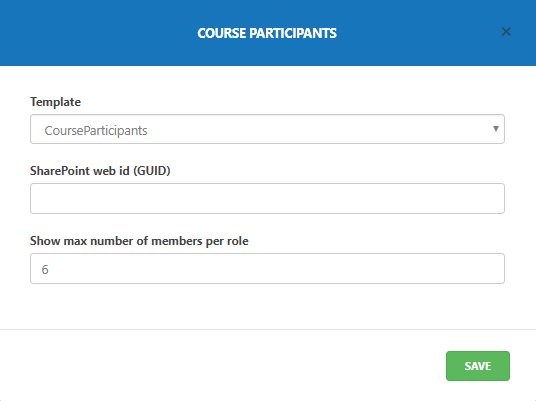
1) Press the ‘Settings’ button in the web part. A window pops up and takes you through the settings.
Template: Select template for the web part.
SharePoint web id (GUID): The web ID of the Course Catalog’s subsite. When the web part is added per default to an event or course landing page, this ID is automatically added.
Show max number of members per role: Specify how many participants the web part will display.
Configuring the Event Details web part
The ‘Event Details’ web part provides an overview of details for a course or event like time, place, and teacher.
From this overview, course administrators are provided with tools to manage course details.
Per default, the Event Details web part is added to landing pages of Courses and Events.
However, if you need to add the Event Details web part to a page, perform the following steps:
1) Edit the web page and click ‘Add a web part’ to open SharePoint’s web part gallery.
2) The Event Details web part is found in the ‘Wizdom’ folder.
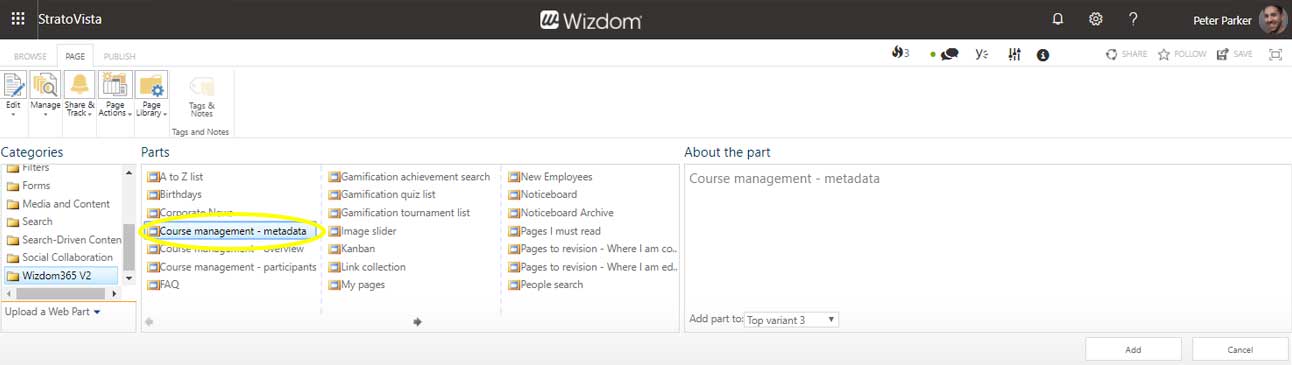
To configure the Event Details web part, perform the following steps:
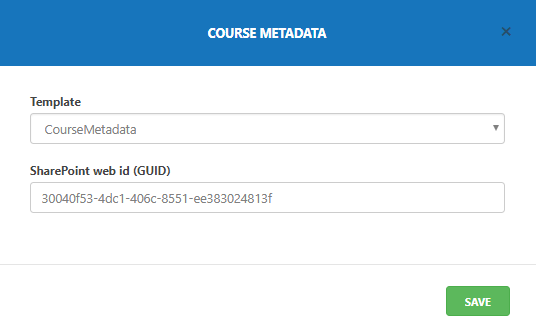
1) Press the ‘Settings’ button in the web part. A window pops up and takes you through the settings.
Template: Select template for the web part.
SharePoint web ID (GUID): The web ID of the Course Catalog’s subsite. When the web part is added per default to an event or course landing page, this ID is automatically added.
Creating Event Catalogs
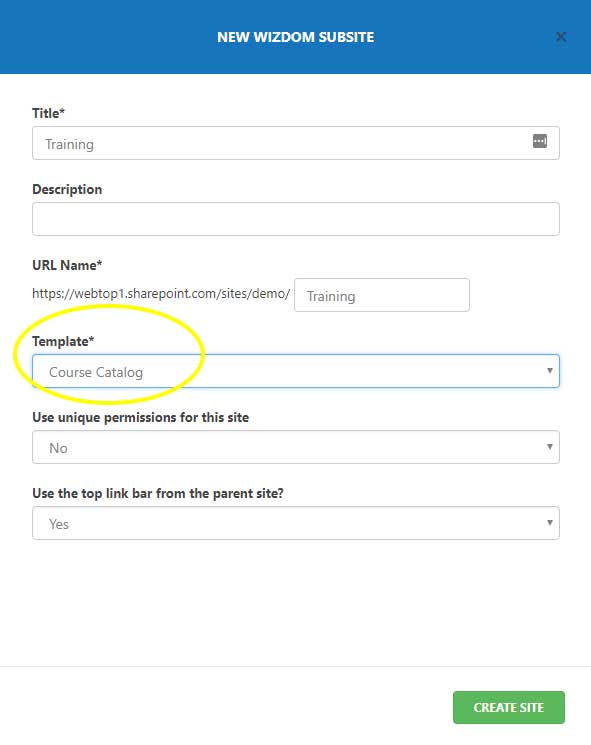
To set up an Event Catalog on your intranet, you’ll start by creating a site.
To create an event catalog, create a new Wizdom subsite to the site or subsite where you want the course catalog site to be located. When choosing site template, select the template ‘Event Catalog’.
The event catalog site comes with a landing page which you will be presented to after creating the site. This will be the landing page of your event catalog, providing an overview of all events, associated with the current event catalog, and tools for supporters and users to navigate these.
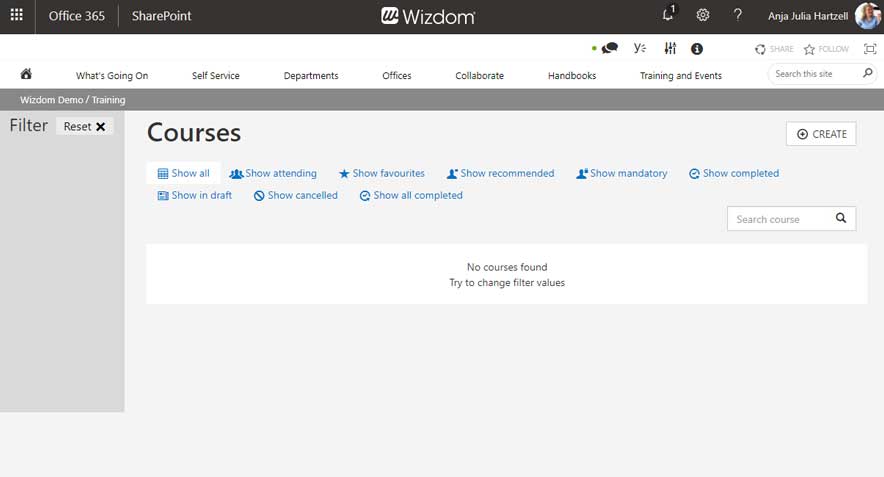
Landing page of an event catalog site just created. As the site is just created, no courses or events are in the overview yet.
It’s possible to create as many event catalogs as you wish in a site collection.
Comments
0 comments
Please sign in to leave a comment.